
I've been really wanting to try a splatter polish effect for a while after seeing so many people doing it on their blogs and finding such amazing splatter results on Pinterest....some ladies like Sarah from @ChalkboardNails, had such an incredible turnout with her splatter. Her splatter blog post was my inspiration. So I wanted to give it a try.

So first I collected my materials to start the splatter process: plate, tape, straws, polishes, cotton balls, Q-tips, acetone remover. Here comes my first mistake, didn't have paper plates on hand, so I didn't think anything of it when I grabbed a styrofoam plate **MUST USE PAPER** or the polish will eat right through the plate & drip onto your floor! When this happened my little 11 yr old brother had a brilliant idea to lay strips of tape down on the plate, and it worked! what a cute genius he is! After the 1st hole that burned through the plate, I just poured my puddles of polish onto the strips of tape. The process for this mani is a lot like doing water marbling...all fingers need to be taped up for easier cleanup & then I used my go-to white - OPI "Alpine Snow" for the base, 2 coats. As for my color choices, used in order:
Essie "Turquoise & Caicos"
Essie "Haute As Hello"
OPI "Black Onyx"
Ulta "Blue Streak"
Essie "Play Date"
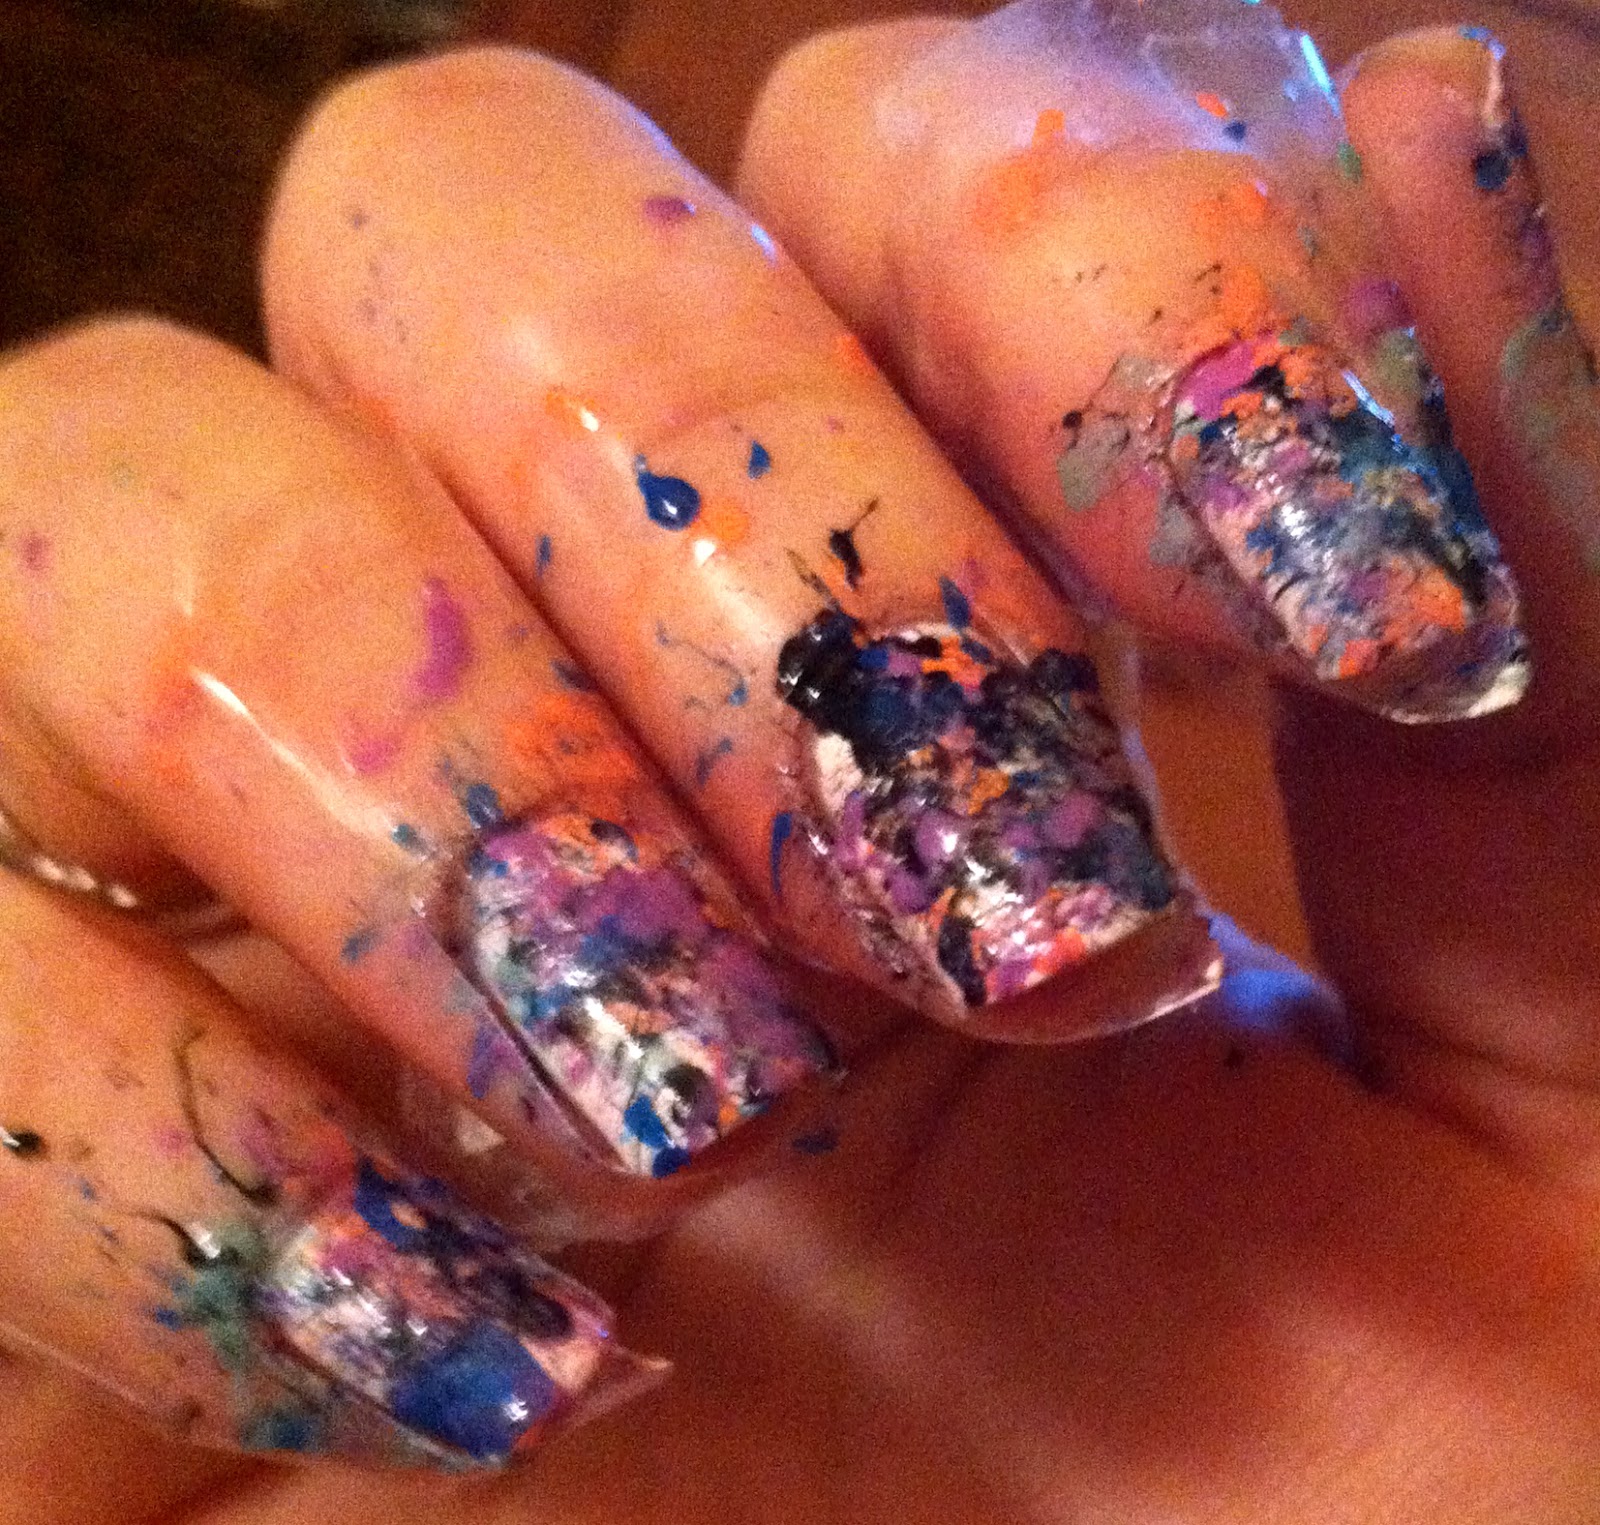
...forgive the fuzzy pics - used my iPhone in my room. at night. only lit by lamps.

fingers are all taped & have 2 coats of white!!!!

One color at a time, pour a little puddle of polish on the plate, dip the straw into the polish, hold the straw 2-3 inches from the nail, then give one big fast puff of air to spray the polish onto the nail. I did all 10 nails, then repeated all this for the next 3-4 colors.

Seriously, when the tape was still on and I finished, I was terrified. It looked so hideous, and i was just pissed off because I spent the same amount of time & energy on this as I do on water marbling (which I actually love doing & always has an incredible look).

the finished product of splattering

right after doing clean-up with Q-tips & polish remover...the 2nd huge ass mistake on my part. I ran of pure acetone on my last mani & have not picked up another bottle since then. So I had to try to do cuticle clean-up with generic polish remover (that did not work & cleaning up was a b*tch!)
I tried my best then put 2 coats of Seche Vite on top....

OPI "Black Onyx"

Ulta "Blue Streak"

Essie "Play Date"

Essie "Haute As Hello"

...it's been growing on me


OPI "Alpine Snow" in direct sunlight.....ugh sorry for my cuticle mess :(

outside in direct sunlight

Bailey the Bulldog
....so this is def a very different, kinda messy funky mani. Have y'all tried a splatter before??
Ryan, this looks amazing!!!! I've done a splatter mani but it didn't turn out this well. I think I'm going to have to give it another shot. Anyways, love the colors you chose here, very vibrant!
ReplyDeleteThank you as always for stopping by to check out my blog!!! love you girl! glad u liked this crazy splatter!
DeleteBailey the bulldog is beyond adorable...i may steal. lol
ReplyDeleteLove the mani! I've never done splatter because with my luck i'd splat polish on the table/walls/carpet. I'm the clumsy one who has spilled a whole bottle of nail polish just when swatching one nail. very cute, love the colors!
Thanks thanks thanks so much chica! it'll take some rewarming up to to feel like doing this again...id pick water marbling over this most any day. haha love ur story about spilling polish ;D but thanks so much for all the compliments...im looking forward to our 7-day challenge!
DeleteThe process looks a little messy but the end result looks so worth it! Must try! Love the colors you used! And I love bulldogs, Bailey is so cute!
ReplyDeleteI like this! Really cool color combo!
ReplyDeleteHow the hell did I miss this??! Soooo sick... I need to try this, I'm just so lame and chicken out lol
ReplyDelete